This month’s UFH Challenge is home dairy! Now, if you know me, you know that I love cheese. And we’re not talking about some brief affair that fizzles with time. If I could marry a dairy product, I might marry cheese (apologies to my husband). The first challenge is indeed cheese making and is posted over at the Eating Rules blog. It involves starting off with a simple ricotta-like farmers cheese, using lemon juice for the acid. While I really want to get my hands on some mozzarella one of these days for some awesome homemade pizza, this seems like a good place to start.
The equipment listed is as follows:
- A good pot. Already in the pantry. Excellent! Off to a good start.
- A dairy thermometer. Let me take a little aside here to lament how much trouble I have had finding kitchen thermometers. I have tried analog, electric, praying to the candy thermometer gods, etc. and have still yet to find one that doesn’t read COMPLETELY wrong. Usually it reads way too high, so I end up freaking out and taking the candy I’m trying to make off of the stove thinking it’s ruined and then it doesn’t set because it didn’t get freaking hot enough. Thermometers are the bane of my existence. OK, back to the point. I was going to pick up a dedicated dairy thermometer but our local cheese supply store (yes, we have one of those. Haven’t you seen Portlandia?) is closed on Mondays and so I opted to use our brewing thermometer, which has the right range. It doesn’t clip to the side of the pot but I figure I can deal with holding it for my first cheese attempt. Also it is one of the more accurate thermometers I’ve used.
- Cheesecloth or Butter Muslin. Again, already in the pantry. This is cake! Err…cheese!
- Slotted Spoon, Measuring Cups, and Measuring Spoons. Check, check, and check.
I didn’t need to buy any equipment! Not bad for trying a whole new food making process. Ingredients are simple as well:
- 1/2 Gallon Whole Milk. This should not be ultra-pasteurized and I have a fondness for non-homogenized. I went to our local co-op hoping to find some locally sourced milk but their options were sadly limited. I ended up buying some Strauss (which is darn good, but unfortunately from California). Then when I was at New Seasons I found local milk for cheaper. Damn you co-op! Oh well, next time. And it was really only 50 cents difference. Next time I will go to New Seasons first. Alternatively, I will actually make the time to drive back via the Valley and got to Kookoolan Farms, where I can get raw milk.
- 1/4 to 1/2 Cup Lemon Juice (Another way to use my lemons! Kismet!)
- 1/2 tsp Cheese Salt (My first thought was, “What the heck is cheese salt?”. My second thought was, “Thank you, internet!”. Apparently it’s flaky, non-iodized salt. Unfortunately with our cheese making shop closed, I couldn’t get any. Then I realized we had Maldon Salt, which is flaky, non-iodized sea salt. Score!
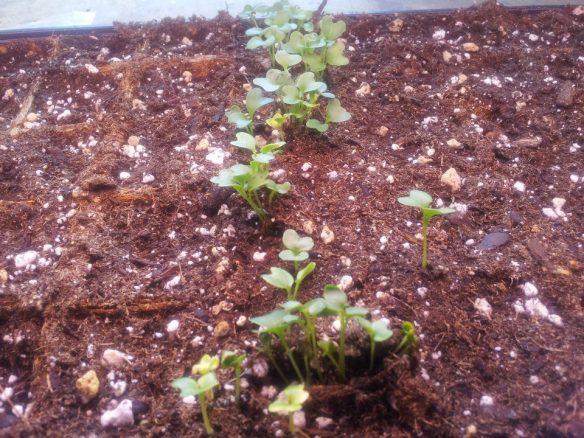
- Chopped Herbs (Alright herb garden! Glad it’s been a mild winter.)
So really I already had everything I needed except for the milk. So far, this experiment into cheese making was rockin’!
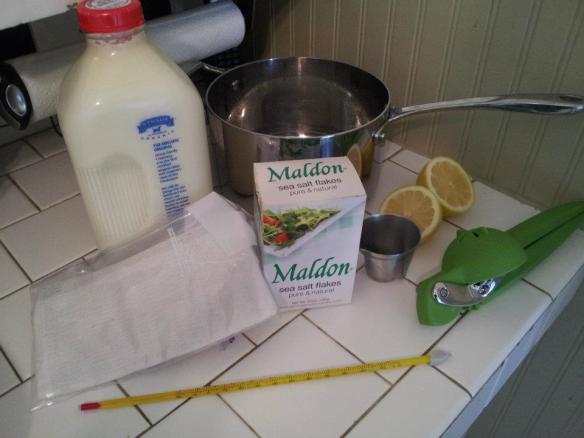
The first step is heating the milk to 175 °F. The challenge post said to do this on the stovetop, but I figured a double boiler method would be more forgiving in terms of not accidentally burning the milk, so I went with that. I boiled water in our stockpot and used that to sanitize the milk pan, the thermometer, and the spoon I’d be using to stir the milk. Then I put the milk pan into the stockpot and poured the milk into it. The downside of using non-homogenized milk is that the cream at the top can prevent the milk from coming out, but I poked at it with a knife until it was enough mixed in to at least come out of the bottle.

I stirred the milk and held the thermometer in it until it reached 175 °F, then took it out of the water bath and added the lemon juice. Fifteen minutes later, sure enough, I had curds and whey! I felt a little like Miss Muffet.
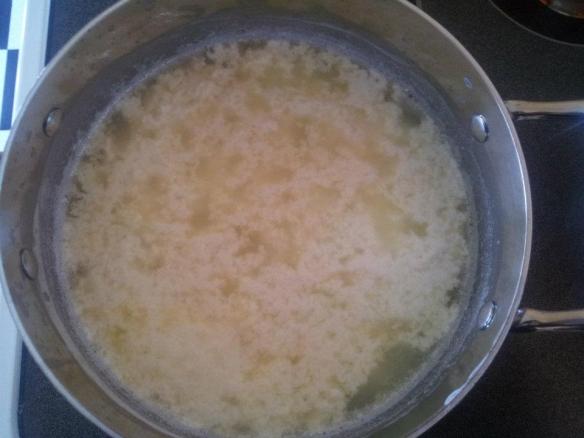
These got put through a cheesecloth-lined colander to drain them then hung up to drain further over the sink. We consider binder clips to be essential kitchen items for instances just such as these.

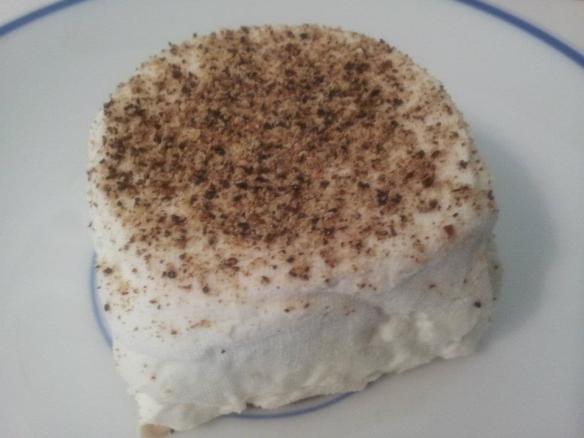
After a couple of hours, I emptied the curds into a bowl, mixed in 1/2 tsp of salt and some chopped oregano from our garden and voila! Cheese!

It tastes really good, too. The lemon imparts a slight tanginess and the oregano adds some complexity. I can’t wait to try this with some fresh bread. Assuming it lasts long enough for me to make some bread. I may just eat it all on its own before that happens. Also, I bet this would make AMAZING blintzes. The next time I make it, I think I may have to channel my grandmother and roll some of those. Yum!

